

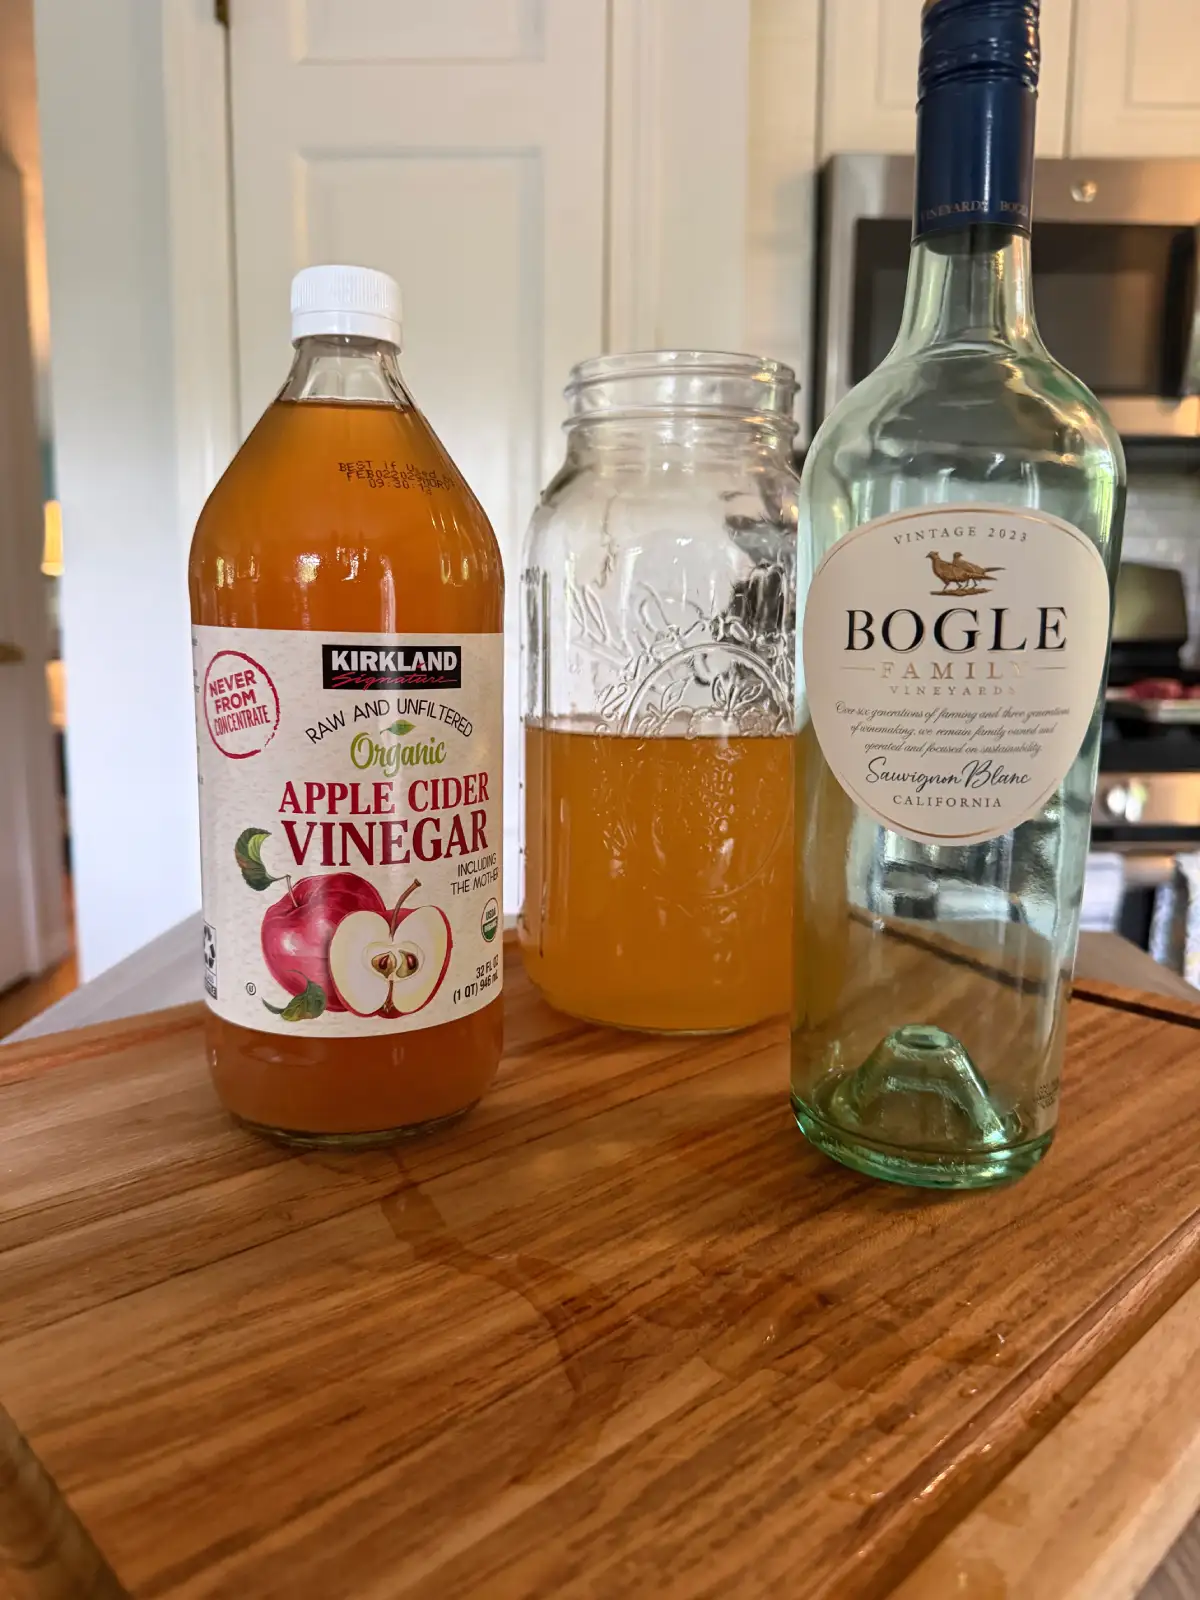
Once you decide you’re going to make infused vinegars at home, a natural question follows. Why stop at the infusing? That’s exactly where my head went. If I’m going to pour white wine vinegar into beautiful bottles and give it as gifts, if I’m going to use it in my kitchen every week, if I’m going to make it the base of something I’m truly proud of, then why am I still buying it off a shelf? I made my first batch of homemade white wine vinegar a few months back, and it’s finally ready. It’s strained, bottled, and sitting on my shelf right now, and I’m already thinking about the next one. Here’s how I did it, and why you should try it too.
The Case for Making Your Own
Store-bought white wine vinegar is fine. It does the job. But when you make your own, you control everything: the quality of the wine you start with, how long it ferments, how it tastes when it’s done. The result is a vinegar with actual depth and character, not just sharp acidity. There’s also the practical side. When you infuse vinegars regularly, you go through more than you expect. Having your own stock on hand means you’re never rationing a $15 bottle or making a special trip to the store before you can start a batch of tarragon vinegar. You make a batch, you let it work, and three months later you have more than enough.
What You Need
The equipment is simple, and you likely already have most of it. – One wide-mouth glass jar or ceramic crock, at least one quart capacity. Wide mouth matters because more surface area means faster fermentation. Don’t use metal. Vinegar is acidic and will react with it. – Cheesecloth or a clean paper towel to cover the top. The jar needs airflow, but not dust or insects. – A rubber band to secure the cover. – A fine mesh strainer and cheesecloth for straining when it’s finished. – Clean glass bottles for storing the finished vinegar. For ingredients you need two things: a decent dry white wine and a starter culture. – One bottle of dry white wine. Choose something you’d actually drink. Nothing too oaky, nothing too sweet. You don’t need to spend a lot, but don’t use the cheapest bottle on the shelf either. The quality of your wine becomes the quality of your vinegar. – Half a cup of raw, unpasteurized apple cider vinegar with the mother, as your starter. This is your live culture. It contains the acetobacter bacteria that will convert the alcohol into acetic acid. Look for a bottle labeled “with the mother,” like Bragg’s, at the grocery store or online. Regular pasteurized apple cider vinegar won’t work as a starter, since the culture needs to still be alive.
The Process
Combine the wine and the ACV starter in your wide-mouth jar. Stir gently to mix. Cover the opening with a double layer of cheesecloth and secure it tightly with a rubber band. Place the jar somewhere warm and dark. A kitchen cabinet away from the stove is ideal. You’re looking for a consistent temperature between 65 and 80 degrees. Too cold and the fermentation slows. Too hot and you risk killing the culture. Now you wait. Within two to four weeks, you should see a thin film forming across the surface of the liquid. This is your mother of vinegar, the living culture of acetobacter doing exactly what it should. Don’t disturb it, and don’t stir the jar. Let it work. Begin tasting around the six week mark. Dip a clean spoon in from the side, disturbing the mother as little as possible. It’ll taste sharp and slightly funky at first, not quite vinegar yet. That’s normal. Keep tasting every week or two. By three months it should taste like real vinegar with actual flavor behind the acidity. That’s when it’s ready.
Bottling Your Vinegar
When the flavor is where you want it, carefully remove the mother with a clean spoon and set it aside in a small jar with a little bit of finished vinegar. Save it. You can use it to start your next batch immediately. Strain the vinegar through a cheesecloth-lined strainer into clean bottles. If you want to stop the fermentation and stabilize the vinegar for longer storage, heat it gently to 140 degrees, hold it there for 30 minutes, then bottle and seal. This is called pasteurizing, and it’ll keep your vinegar shelf-stable for up to a year. If you plan to use it within a few months and want to preserve the live culture instead, skip the heat and simply bottle the vinegar as is, with the culture still active inside. Label your bottles with the date. Stand back and look at what you just made.
What Comes Next
My batch is finished now, and I have a full supply of homemade white wine vinegar ready for infusing: tarragon, raspberry, herb and garlic, whatever I feel like making this season. That’s the beauty of keeping your own stock. You’re never starting from nothing. You always have what you need to start the next batch.
Mimi’s Tip
Save your mother every time. Once you have an active, healthy mother of vinegar, you can keep it going indefinitely, and each batch gets a little faster and more flavorful than the last. Some families have kept the same mother alive for decades. Start yours now, and you’ll always have it.
Find everything you need to get started in Wise Owl Essentials.