

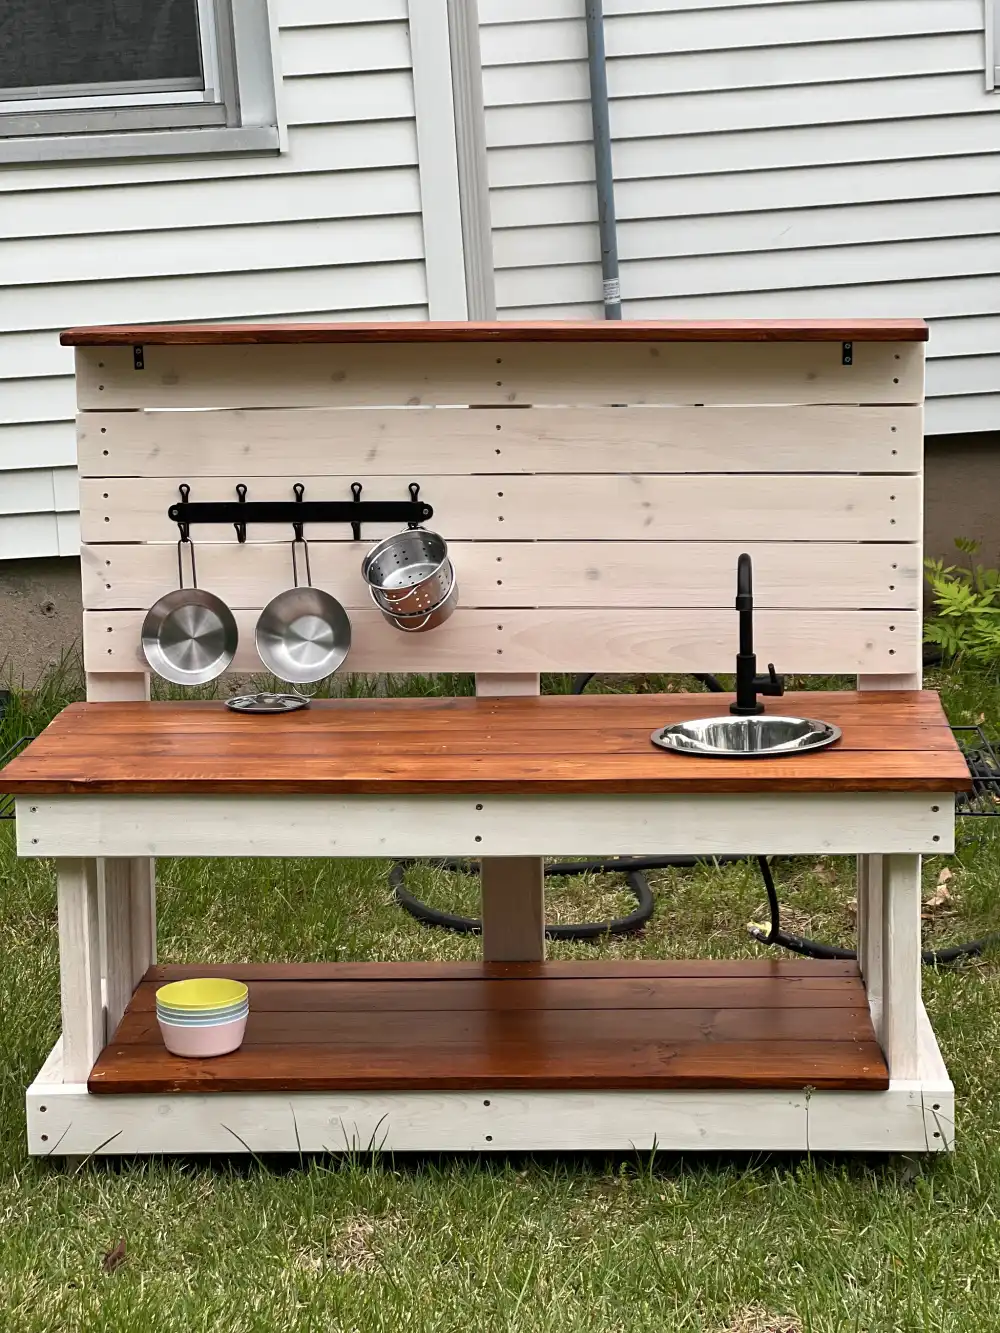
I’ve been watching mud kitchens on Instagram and Pinterest for two years.
Every single one had the same problem.
Too tall, too big, built for a seven-year-old who can reach a real countertop, not for a two-year-old who’s still figuring out how her legs work.
I looked at kits. I looked at plans. I looked at what the stores were selling. None of it was built for a real toddler at a real scale that would actually feel comfortable for little hands.
So I built one myself.
Why Store-Bought Wasn’t Going to Work
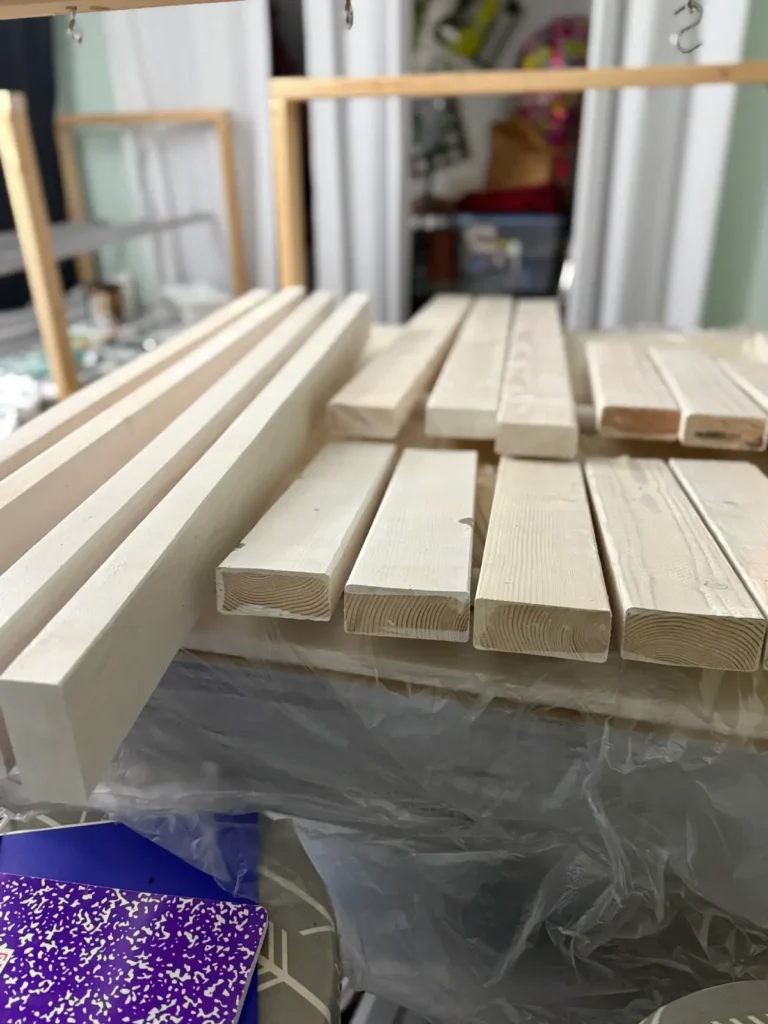
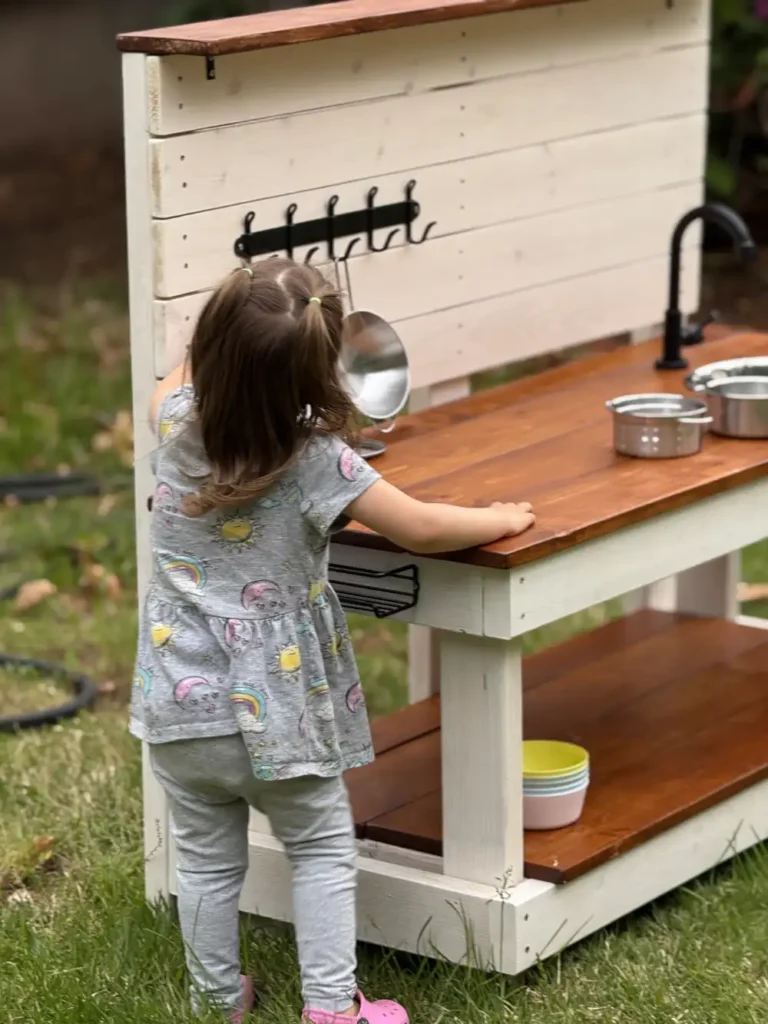
This mud kitchen runs on a real faucet connected to a standard garden hose. There’s no plumbing and no permanent installation involved. You connect the hose, you turn the water on, and the kids have real running water for play. When you’re done, you disconnect the hose and put it away. That’s really all there is to it. The countertop height is sized for toddlers and preschoolers specifically. Little ones can reach the faucet, wash their bowls, and work at the counter without stretching or straining. It’s the detail that makes the most difference, and the one that almost nobody gets right. The sink is a stainless steel dog bowl from Tractor Supply. It’s the perfect size, easy to clean, and costs almost nothing.
I also designed in a feature I haven’t seen anywhere else: the height can be raised later. As little ones grow, you can add a simple riser underneath the frame and extend the useful life of the kitchen without rebuilding anything. One kitchen can take your grandchild or child from toddler years through early elementary.
Then She Put On Her Princess Dress
I set up a little station with her bowls, her IKEA pots, and the faucet running. She showed up in a full princess dress. That video pretty much says everything I need to say about this project. A well-built mud kitchen with real water and the right height for little hands turns into more than an outdoor toy. It becomes hours of imaginative play, the kind of thing kids remember long after they’ve outgrown it.
The Plans Are Available Now
I wrote up the full build instructions so that any beginner can do this. If you can drive a screw and follow a plan, you can build this kitchen. The downloadable guide includes: – Complete materials and supply list with exact screw sizes – Lumber shopping guide with a cut-by-cut board breakdown, so you buy exactly what you need and nothing you don’t – Full cut list table – Step-by-step instructions for all 7 build stages – Real water hookup instructions (simpler than you think) – Tips for finishing, sealing, and making it last through outdoor seasons – Height customization guide so the kitchen can grow with your child
Available now in Wise Owl Essentials.
A Few Things Worth Knowing Before You Build
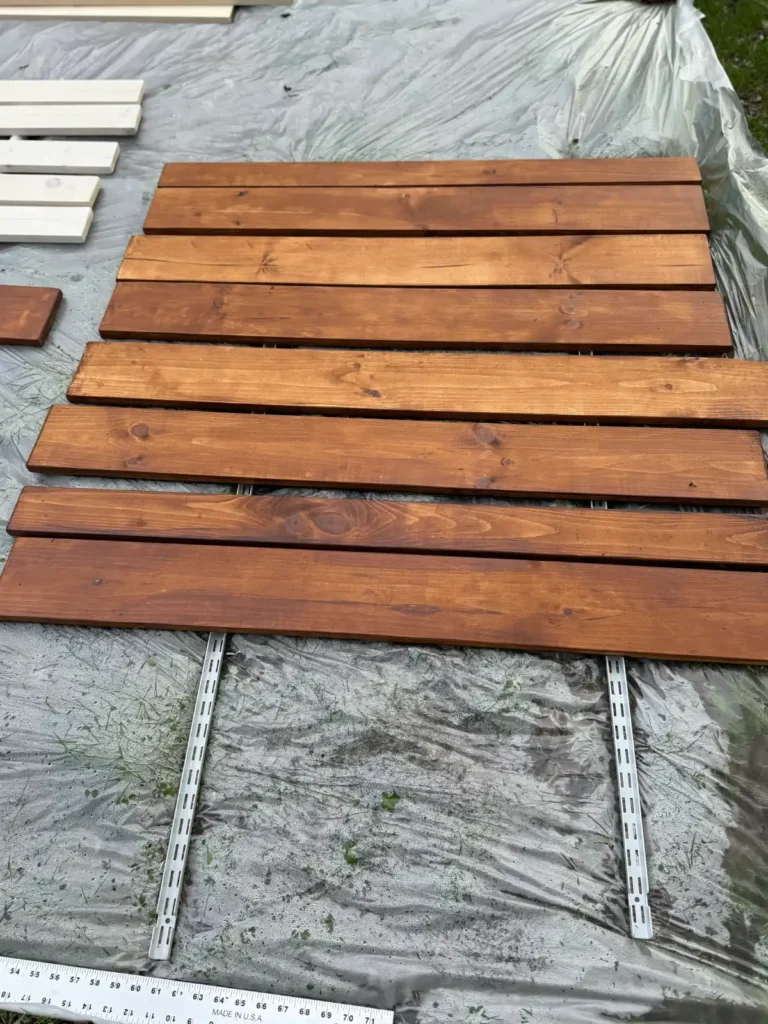
You don’t need to be an experienced builder. This is a straightforward project with standard framing lumber, exterior screws, and basic tools. Sand and paint your boards before you assemble, not after. It sounds backwards, but it makes the whole build faster and protects the wood right from the start. This kitchen will see mud, water, and weather, so give it the protection it needs before play begins. We didn’t use pressure-treated lumber. That’s a personal choice. Children are touching every surface, so we chose better quality untreated board for the visible areas and sealed it well instead. The dog bowl sink is the right call. I looked at every other option, and the Tractor Supply stainless bowl is the perfect size, easy to clean, and costs almost nothing. Get the size that fits your countertop opening, trace it yourself before cutting, and sneak up on the fit slowly. The garden hose connection is genuinely that simple. If you can hook up a garden hose, you can install this faucet.
Ready to Build One?
The full step-by-step plans are available as a download in Wise Owl Essentials. Print them out, bring them out to the garage, and build this in a weekend. Your little one can wear whatever they want to the grand opening.
Find all the tools, hardware, and accessories I used linked in Wise Owl Essentials.